|
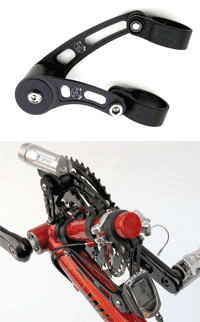
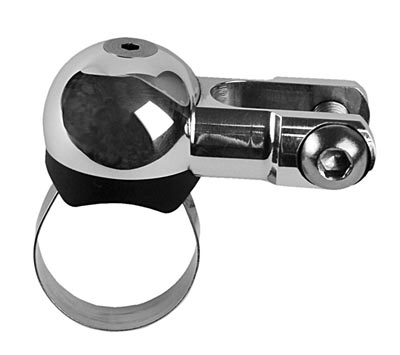
Schmidt SON light mounts |
|||||||||||||||||||||||||||||||||||||||||||||||||||||||||||||||||||||||||||||||||||||
|
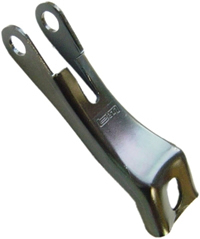
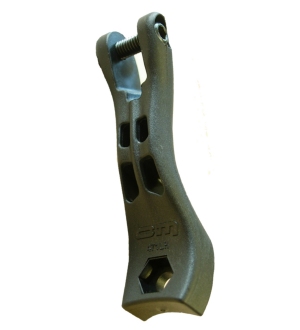
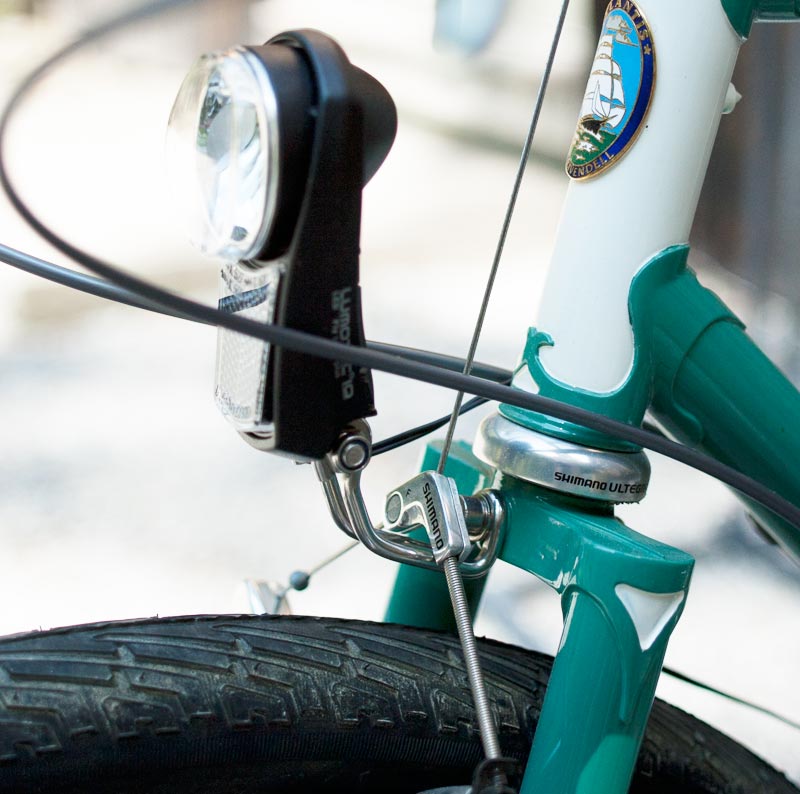
First I'll cover mounting headlights Most of the dynamo powered headlights I sell are designed to meet strict German standards for bicycle lights. In a nutshell, the standards exist to ensure that the headlight beam illuminates the road surface without blinding oncoming drivers and cyclists. The beams are brightest at the top, and become progressively dimmer towards the bottom. The road closer to the rider needs less light to appear as bright as the road further away. These progressive beams are like an automobile's low beam. In order to work as well as possible, the beam is designed with the height of the headlight off the ground as one of the parameters. If the beam is too low, the ground near the rider gets more light than is optimal. If the headlight is too high, the ground near the rider gets too little light. However, mounting too low is far worse than too high. So these German lights are all designed to work best when mounted at the fork crown, just above the front tire of a normal bicycle with 26" or 700c wheels. You can position them higher or lower, but the further you get from the top of the tire, the more the beam is compromised. Mounting at the handlebar still works well, but if you mount the light too low, the beam deteriorates badly. So I recommend against mounting lights at the level of the front hub, even though many people find that to be a very convenient location for a headlight. It may be convenient, but the beam will be poor. All of the Busch & Müller headlights and most of the others attach to a mount via a 6mm hole in the base. The hole takes a bolt, horizontally aligned, and perpendicular to the direction of travel. While this interface is almost an industry standard, that doesn't mean you can use any headlight on any mount. Most Busch & Müller headlights have plastic housings which make them extremely light. Most weigh about 2 ounces. But a few headlights, such as the Busch & Müller IQ-X, Schmidt Edelux and Supernova, use aluminum housings. The Schmidt weighs almost 3 ounces, and the Supernova weighs in at about 5 ounces. Busch & Müller goes to great lengths to ensure that their headlight mounts are strong enough for their headlights, but they don't test their mounts with lights made by other manufacturers, and so you can't just assume that a B&M mount will be suitable for some other brand of headlight. None of the B&M metal mounts can be used with Supernova headlights. Though some are probably strong enough, they usually position the switch at the rear of the Supernova headlights too close to the bicycle. So as a general rule, Supernova headlights should only be used with Supernova headlight mounts. I have different mounts for different bikes. For example, if your bike has sidepull caliper brakes, you can't use a mount designed for cantilever brakes if you're mounting the light at the fork crown. Caliper brake mounts generally also work with V brakes, as the connecting wire passes in front of the mount. However, all mounts for V brakes won't necessarily work with caliper brakes. The base of the mount must be fairly flat and thin if you're going to mount a caliper brake since the mount fits between the brake and the fork crown. Many newer headlights are designed to project light not only at a distance, but quite close to the bicycle. These are ideal for commuters and people who ride bike paths. The Busch & Müller Lumotec CYO Premium headlights and the Lumotec IQ Fly RT, introduced in October, 2010 are ideal commuter headlights, as are the B&M Luxos headlights introduced in September 2012, and the IQ Premium models introduced in September, 2013. But if they aren't mounted high enough above the front tire, the lower part of the beam will be blocked by the tire, or the fender. You do have fenders on your commuter bike, right? So the height of the mount must be taken into account. Some light housings are tall, like the Lumotec IQ Fly, and so they don't need a tall mount to get the light's beam high enough. Other lights, like the Lumotec CYO R are very short, and need a tall mount for the beam to clear the tire and fender. I list every dynamo headlight mount I sell below, and with each mount, I will soon list all of the headlights it is compatible with. Most headlights ship with a mount included. I note that with each mount. Some headlights, like those from Schmidt, have a switch that protrudes upwards from the body of the light. If the light is mounted at the fork crown, and if your bike has lots of cables routed past the fork crown, such as for STI and ERGO shifters, those cables might contact the switch, turning your headlight on or off as you turn the handlebar. So you may find that you need to arrange your cables differently. Mounting any headlight at the fork crown has several benefits. It leaves your handlebar clear for cyclecomputers, altimeters, heart rate monitors and hot & cold running beer dispensers. And as noted above, the beam shapes of German headlights are optimized for the height of the fork crown on a standard bicycle. Positioning the light too high or too low makes the beam less effective, though too low is far worse than too high.
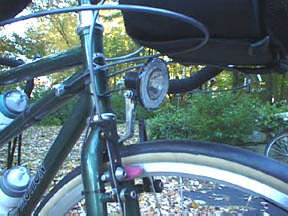
Here you can see the hot setup back in 1999. On our tandem, using a standard Lumotec, I use a Schmidt cantilever style fork crown mount. The headlight is high enough above the tire that the beam isn't blocked by the tire. There's a handlebar bag above the light. I'm tall enough (5'10") that the handlebar is high enough to hold the bag high enough to clear the light. If you ride with a lower handlebar, you might not have space for a headlight there. How Not to Do It! Don't mount the lights upside down. Many dynamo headlights and taillights can get water inside if they're upside down, and most of the headlights are designed to project brighter light at the top of the focused beam, to give more even and safer road illumination. The top part of the beam is projected further down the road, therefore it needs to be brighter. Our headlights tend to be more expensive than many other headlights designed for use with dynamos. The higher prices are partly due to the superior design of the optics. If you mount the lights upside down, you'll end up with a headlight that doesn't even work as well as the cheapest headlights available, you've wasted your money, and you're less safe while riding because you can't see the road ahead of you as well. Please don't mount the lights upside down! One custom builder (who won't be named) thought it would be perfect to place a Supernova E3 headlight upside down under the front of a basket with a fender on the bike that was too short to keep water spraying onto the light. But the Supernova headlights are designed to be used with the mount positioned at the bottom of the headlight housing, even if you have the round or symmetrical beam (which by the way they no longer make). The wires connect at the bottom, and water can enter the housing where the wires are attached if you position the light upside down. With the light right side up, it's never a problem. But when mounted upside down, not only can rain fall directly onto the headlight, but water gets picked up by the tire and is thrown forward, directly onto the headlight. Don't mount dynamo headlights or taillights upside down! You may think that having the light upside down makes for an interesting installation. You may think that it helps get the light out of the way; some place more convenient. Well, maybe it does, but it doesn't matter! When the light stops working, that's not particularly convenient, though it may be interesting on a fast descent. What does "right side up" mean, Peter? It usually means that the part of the light that attaches to the mount is located at the bottom of the light. If the part of the light that attaches to the mount is at the top, then, the light itself is upside down. There is one dynamo headlight designed specifically for upside down mounting. It's a special version of the Schmidt Edelux. We have them in stock. There is also the Busch & Müller IQ-X, which has a mounting point that can be either at the bottom or at the top. What's compatible with what? Don't assume that because a headlight comes with a mount, that that mount will work well on your bike. Here's an example of a very good mount, and a very nice bike, where the two are not a good mix. The 2009 Busch & Müller Lumotec CYO headlights came with a very strong steel mount. It's made of 4.5mm diameter rod. If you've got a vise and can apply some leverage you can bend it if necessary to get a better fit for your needs.
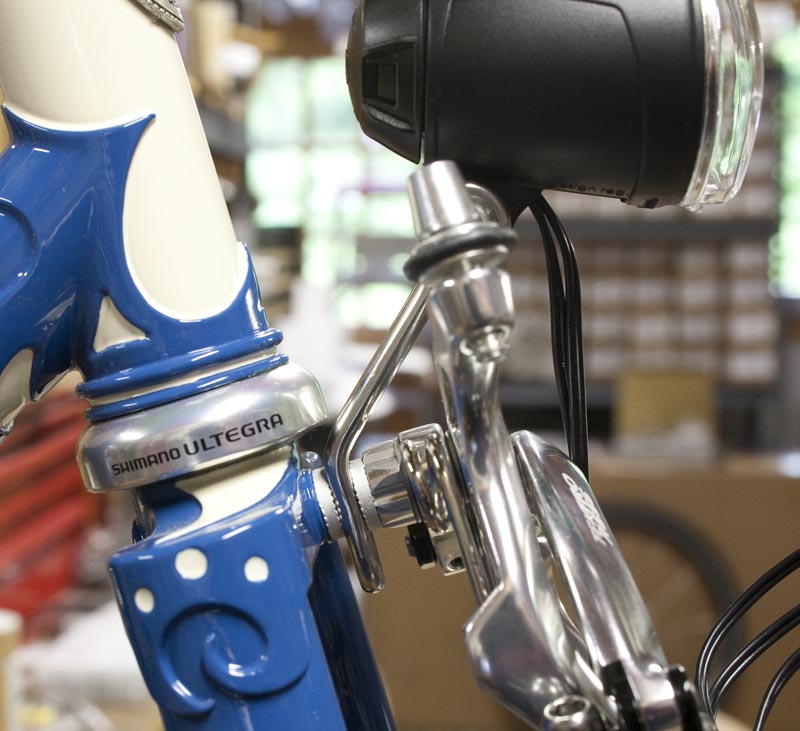
The original Lumotec IQ CYO headlight mount from Busch & Müller had a tall vertical section at the bottom for adjusting the height of the headlight. This is helpful when you have lots of cables running from the handlebar for brakes and gearing and you want to reduce interference between them and the light. But on a bike like this Rivendell A Homer Hilsen, which uses a traditional fork crown, there's not a lot of distance between the bottom of the fork crown and the bottom of the headset. If you also want to install a fender on this bike, the light mount extending down will force the fender down closer to your tire, which obviously isn't good.
Here's a side view. On a bike with a unicrown fork, this wouldn't be an issue. A unicrown fork is very tall in this area. But with the traditional crown, raising the mount any further would cause it to rub against the headset. With some bikes, having some vertical adjustment can be a very good thing, as long as the fork crown is tall enough.
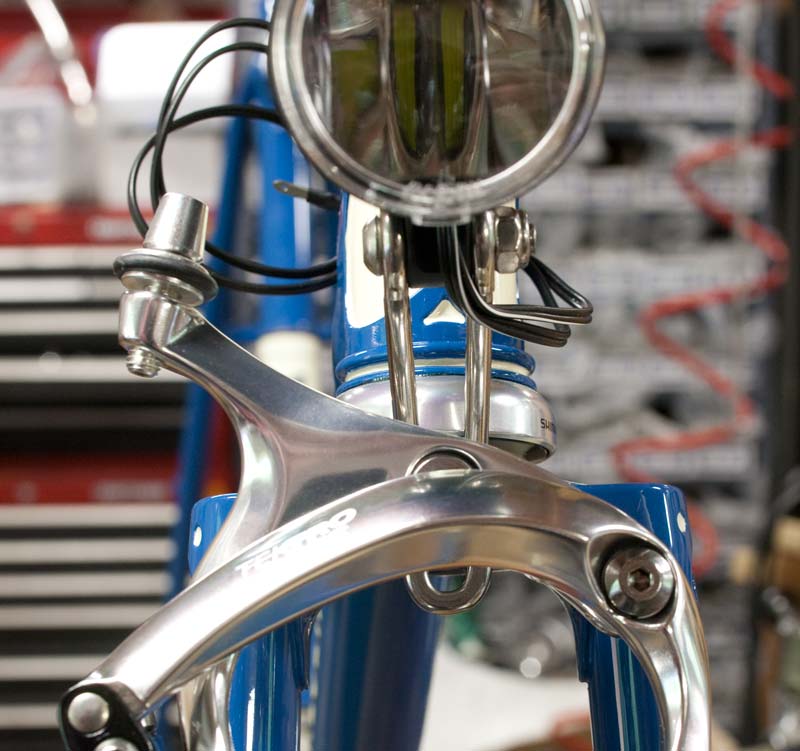
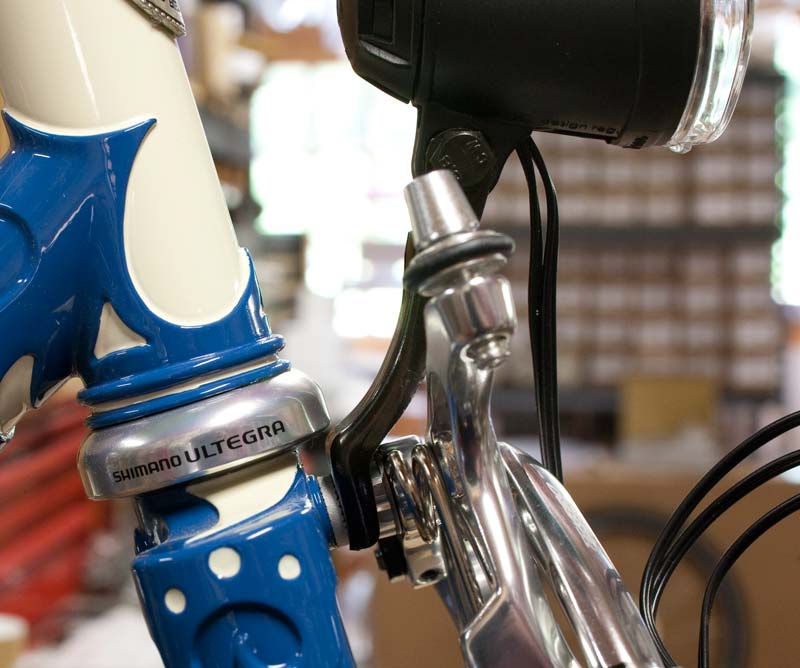
So here's the same bike, same light, but using the HD Caliper mount instead. It holds the CYO headlight at the same height as the CYO's standard mount, so the beam is still far enough above the tire so the tire doesn't block the beam. And the mount doesn't extend below the fixing bolt of the brake, so it doesn't reduce the space available for fenders and large tires. So why not ship the CYO headlights with the HD Caliper mount and be done with it? The CYO mount is open in the center, and with most unicrown forks, will work with old style cantilever brakes, as well as V brakes. If the brake yoke is below the mount, the cable can run between the two sides of the mount. For 2010, Busch & Müller redesigned the CYO mount. The new version is shorter so it will no longer cause fit problems with traditional fork crowns. We still have the original CYO mount available in both shiny stainless and black plated stainless steel. The fork crown mounts from Schmidt SON shown here have dimensions for vertical and horizontal extension. These dimensions assume that the mount is bolted to a vertical surface. But bicycle forks are normally not vertical, but are typically angled at about 73 degrees. Keep that in mind when deciding which fork crown mount is best for your bicycle.
Nitto Lamp Holders We have the Nitto Lampholder 1, which has a single clamp and includes two shorter bars, one longer than the other. Nitto Lampholder 1: $ 65.00 The Nitto Lampholder 5 replaces the nut on your front QR skewer with a cylindar which then accepts most handlebar mounts. So you can mount your headlight down by the front hub. I would only recommend putting your headlight that low if there is simply no alternative. Nitto Lampholder 5: $ 20.00 Terra Cycle Mounts Terra Cycle makes a handy light mount for recumbents and other bikes with unusual mounting requirements.
The arms of the Terra Cycle accessory mount are available in a variety of sizes. You can get both arms 100mm, one arm 75mm and the second 100mm, and one arm 50mm and the second 75mm. This allows the light to be positioned at various distances from the mounting points. $30. Taillight Brackets
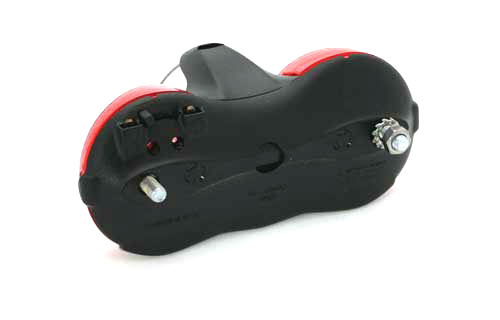
This is a rack side view of the DToplight XS Plus upside down. It's upside down so you can more clearly see the wiring connections on the left side. This taillight is powered by a dynamo. We have similar taillights that are powered by AA batteries, and mount the same way. The light will have two bolts facing forward to attach to a rear rack on your bicycle. Some racks like most Tubus models have a bracket on the rear to mount these lights. But some racks don't. So we have adapters. The light ships without the mounting bolts attached. You can choose between the 50mm width holes or the 80mm width holes. This light has the bolts at 80mm. But since I know of no rear racks sold in the US with holes only at 80mm, but several with holes only at 50mm, I think it's best to use the 50mm holes.
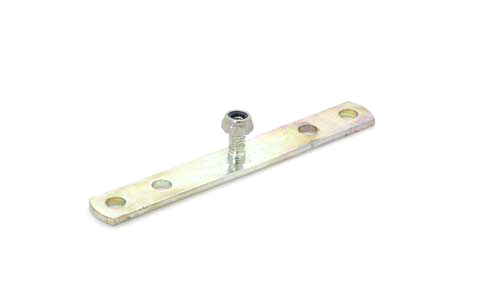
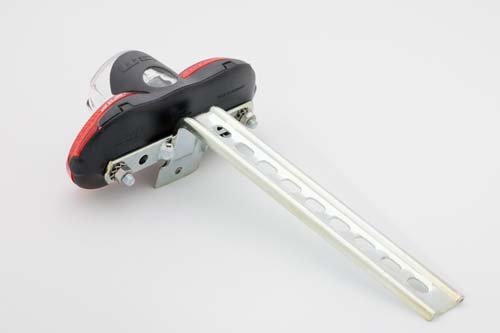
If your rear rack has a single hole in the rear that will take a bolt which faces in the direction of travel, you can mount this bracket into that hole and then you'll have the 50mm and 80mm mounting points for any of the Busch & Müller rack mount taillights such as the DToplight XS Plus above. Busch & Müller Single Hole Bracket: $ 17.50
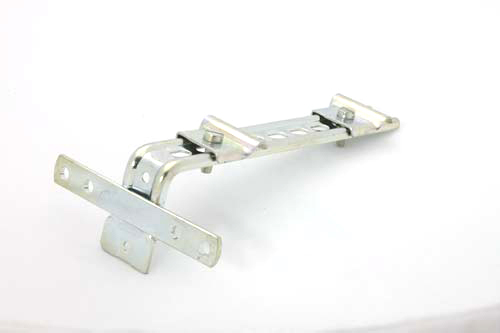
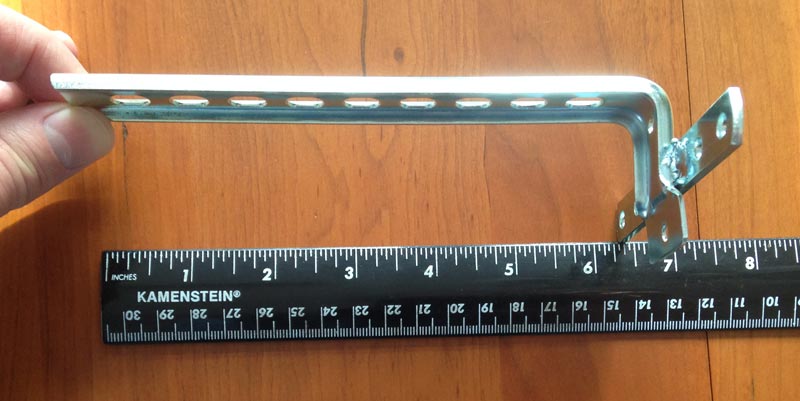
If your rack has no hole in the rear but does have either a top plate or some cross braces, this T bracket can be clamped to the top of your rack and then the taillight can be bolted to it. The fore/aft length is 155mm.
Here's a DToplight XS Plus mounted on a T bracket using the 80mm bolt positions. Busch & Müller T bracket: $ 15.00
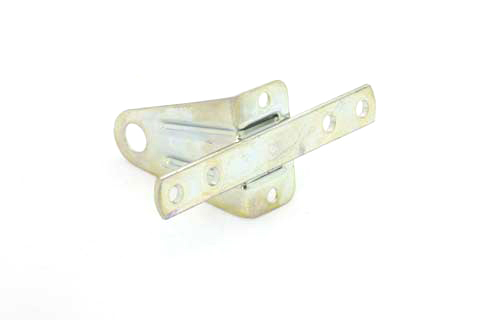
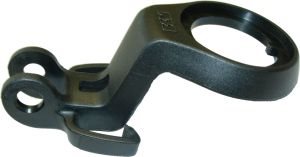
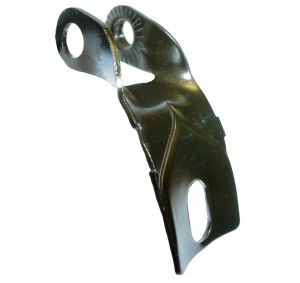
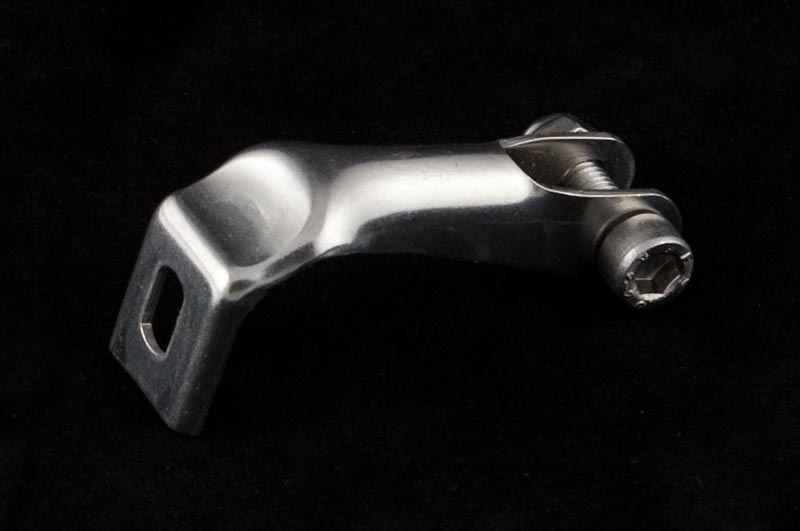
If your bike has a seat post binder bolt that's big and not recessed into the seat cluster, you can probably use this bracket to mount a taillight on the seat post binder bolt. The hole on the left would be at the seat post binder. The hole is about 8.5mm in diameter. Busch & Müller Seat Post Binder Bracket: $ Saddle Rail Mount
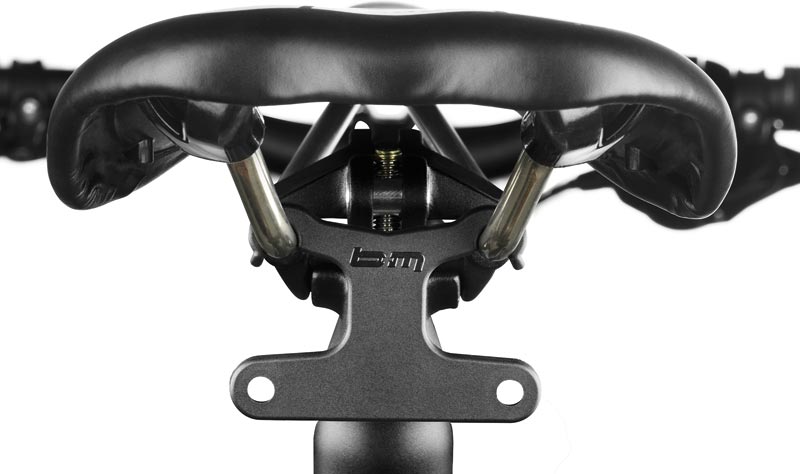
New as of 2016, the saddle rail mount clips onto the saddle rails just behind the seat post clamp and provides the 50mm bolt spacing for rack mount taillights. Obviously, this won't work if you have a saddle bag back there. B&M Saddle Rail Mount, Part # B&M427SH, Price: $ 16.50
I sell Tubus racks which incorporate a mounting bracket which will fit many types of Busch & Müller tail lights including the DToplight Plus and 4DToplight Permanent. The Tubus Cargo is a heavy duty tubular cromoly steel rack for extended touring and heavy loads. Most Tubus racks will directly mount all of the rack mount taillights.
Where to Buy? Call us at 603 478 0900 to order directly from Peter White Cycles. See this page for a list of local bicycle shops that generally stock our products, or can order them for you. If there's no shop in your area, you can of course order directly from us. Check out the great variety of headlights for use with the SON. For a detailed description of compatible taillights, see my page on taillights. Almost everything you need to know about pricing and ordering a lighting system can be found here.
Back to Lighting Systems page Back to: Peter White Cycles LLC home page Penny is the Lord High Executioner of Email. So please send your email to Penny. Mail to: The email link above uses some fancy javascript voodoo to hide the actual address from spambots. Your browser needs to be set to run javascript in order for you to use any of the email links on my website. If you can't see the links, you can call us. You can also type the address into your email software. First, type the alias, "penny". Then type the "@" sign. It's above the number 2 on your keyboard. Then type the domain, "peterwhitecycles.com". Don't put in the quotes! That should do it. You can also call us at 603 478 0900 It's best to call before 4PM Eastern time since after that we're either running around like headless chickens or at home ready to jump into the pot. Please don't place an order without first reading this. This page updated: Tuesday, February 5, 2019 Peter White Cycles LLC
|
|||||||||||||||||||||||||||||||||||||||||||||||||||||||||||||||||||||||||||||||||||||
